Plan a 3D panel or slat feature wall before you buy a single panel
Our 3D wall panel section draws your feature wall to scale with the panel size and pattern you choose, counts whole and cut panels, gives a planning range, checks the layout and the wall, suggests an acoustic build-up, and writes a summary you can send.
Guide revision: 2026-10-10
16-step walkthrough with voiceover, recorded from the same checked steps.
Voiceover: Kokoro text-to-speech (Apache 2.0).
How do I start?
Open our 3D wall panel section. The estimator is the first section. No account.
Open 3D Wall PanelsWhat do I do next?
- 1
Open our 3D wall panel section
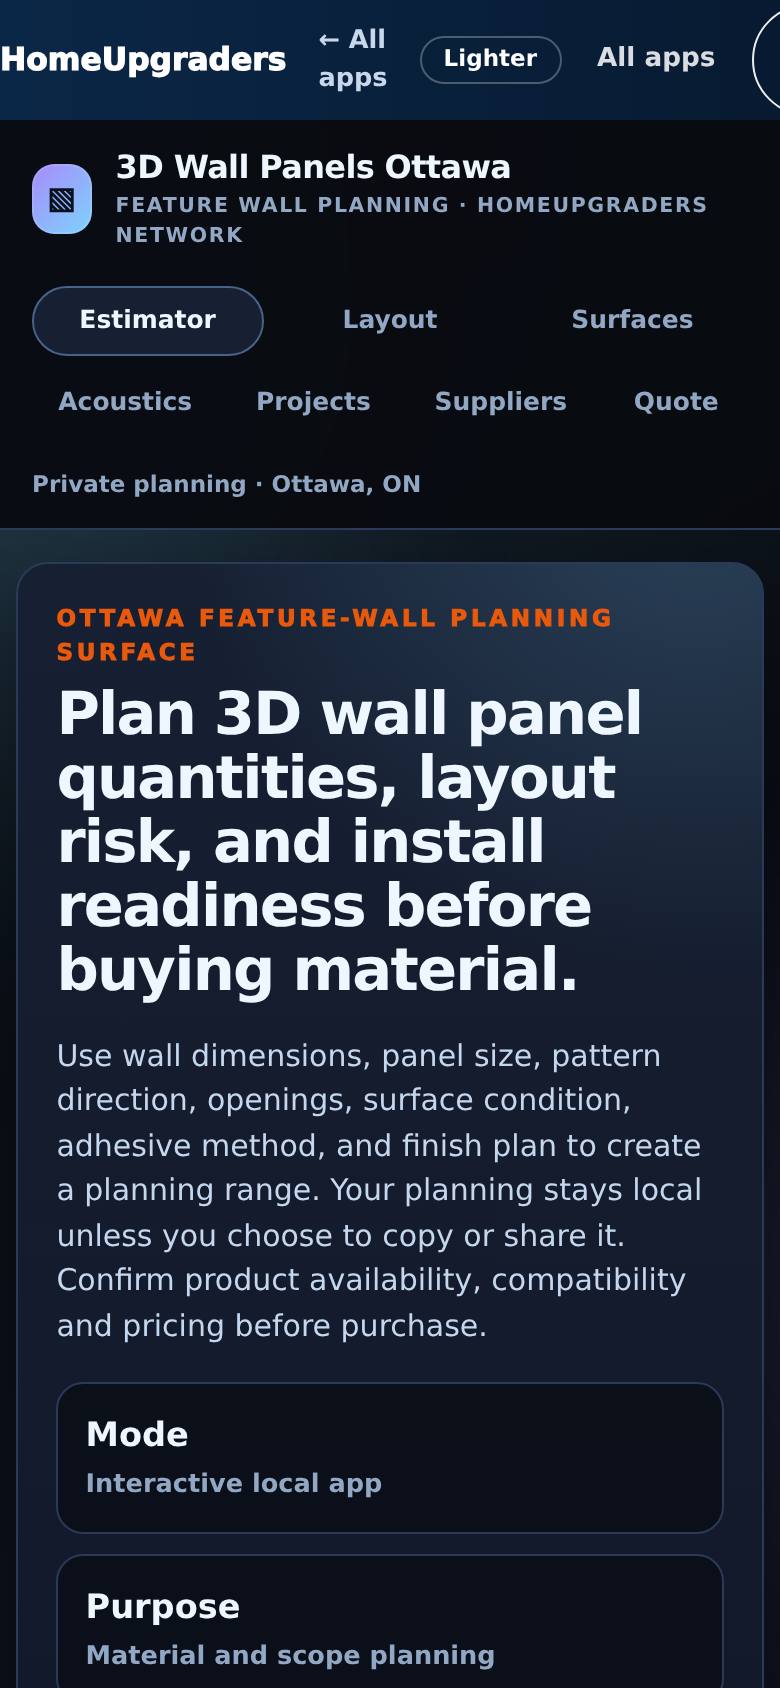
Open our 3D wall panel section from the tools.
Plan the feature wall before you buy a single panel.
- 2
A slat media wall
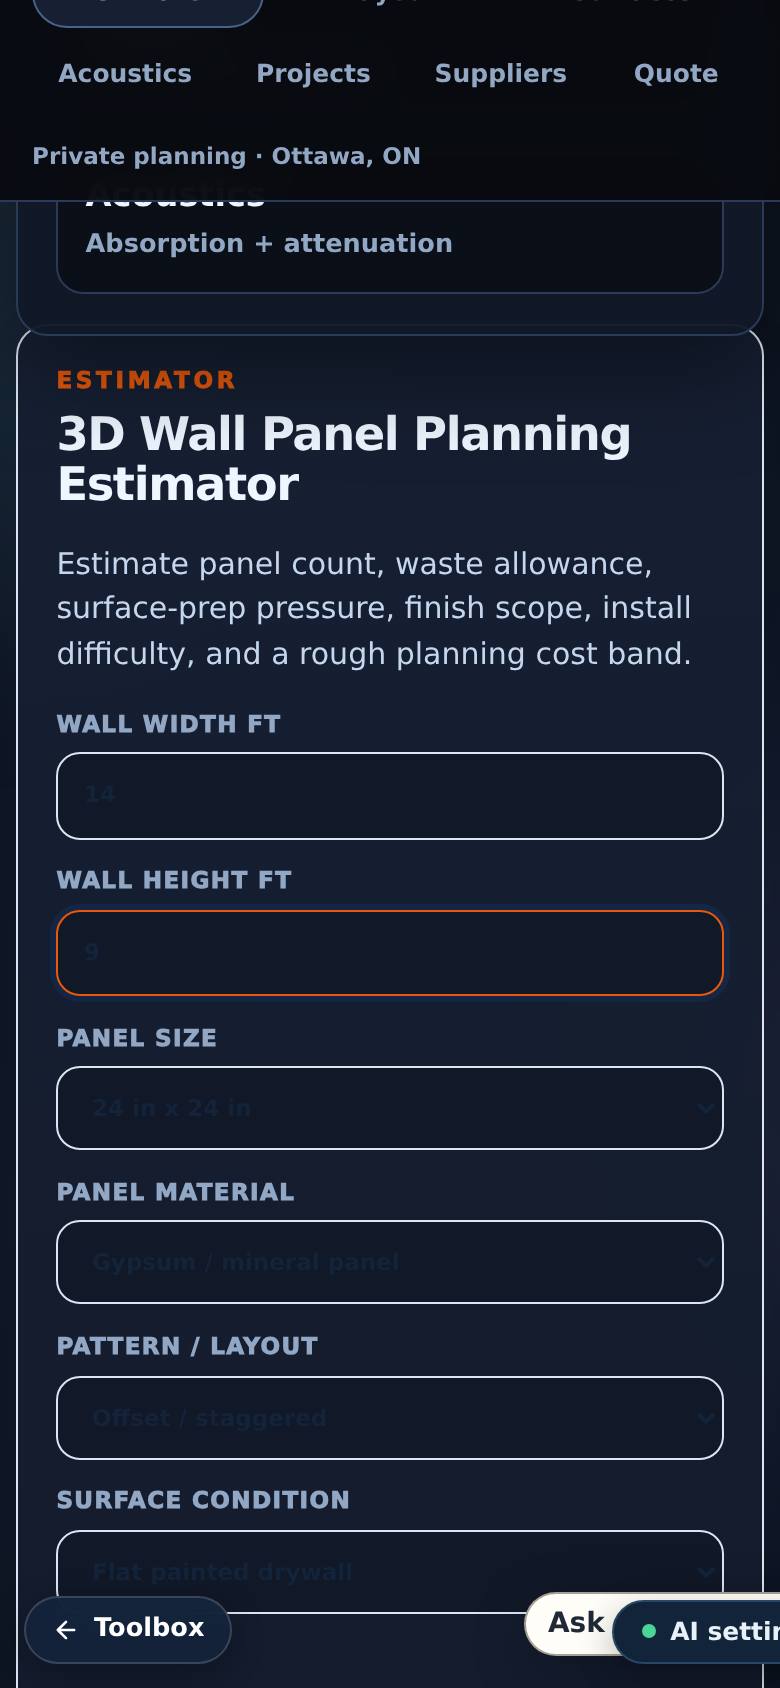
In Estimator, a 14 by 9 foot wall, slat panels in wood, straight, with a TV.
The wall drawn to scale: slats floor to ceiling, the TV, the trim reveal.
- 3
The planning range
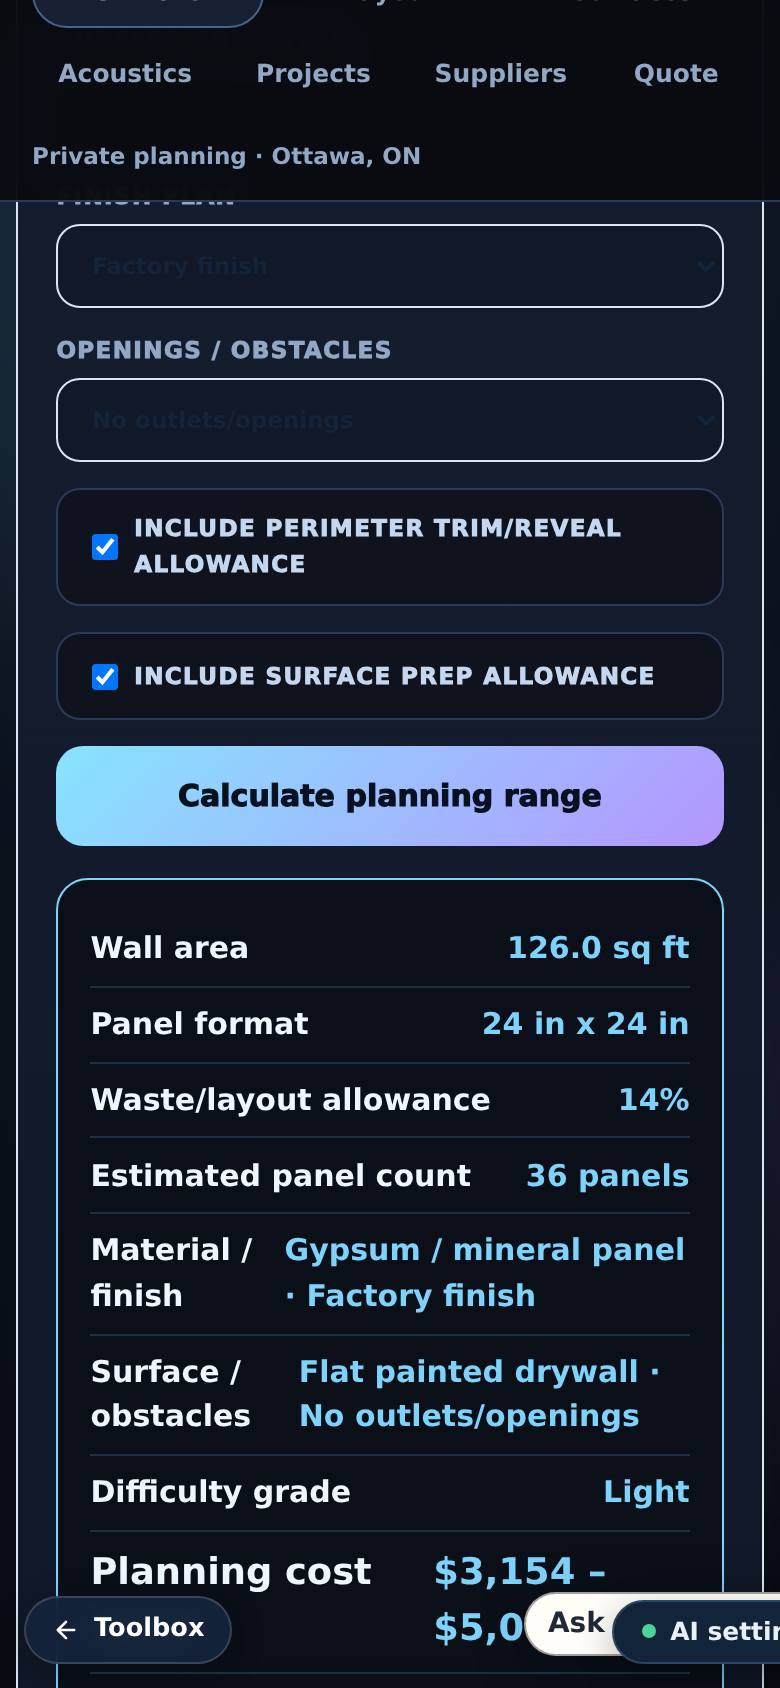
Tap Calculate planning range.
Wall area, panel count with waste, difficulty and a planning cost band.
- 4
Centred 3D panels
Change to 24 by 24 inch paint-grade panels, centred, with a few outlets.
Whole panels in the middle, matching cuts at both ends, the outlets marked.
- 5
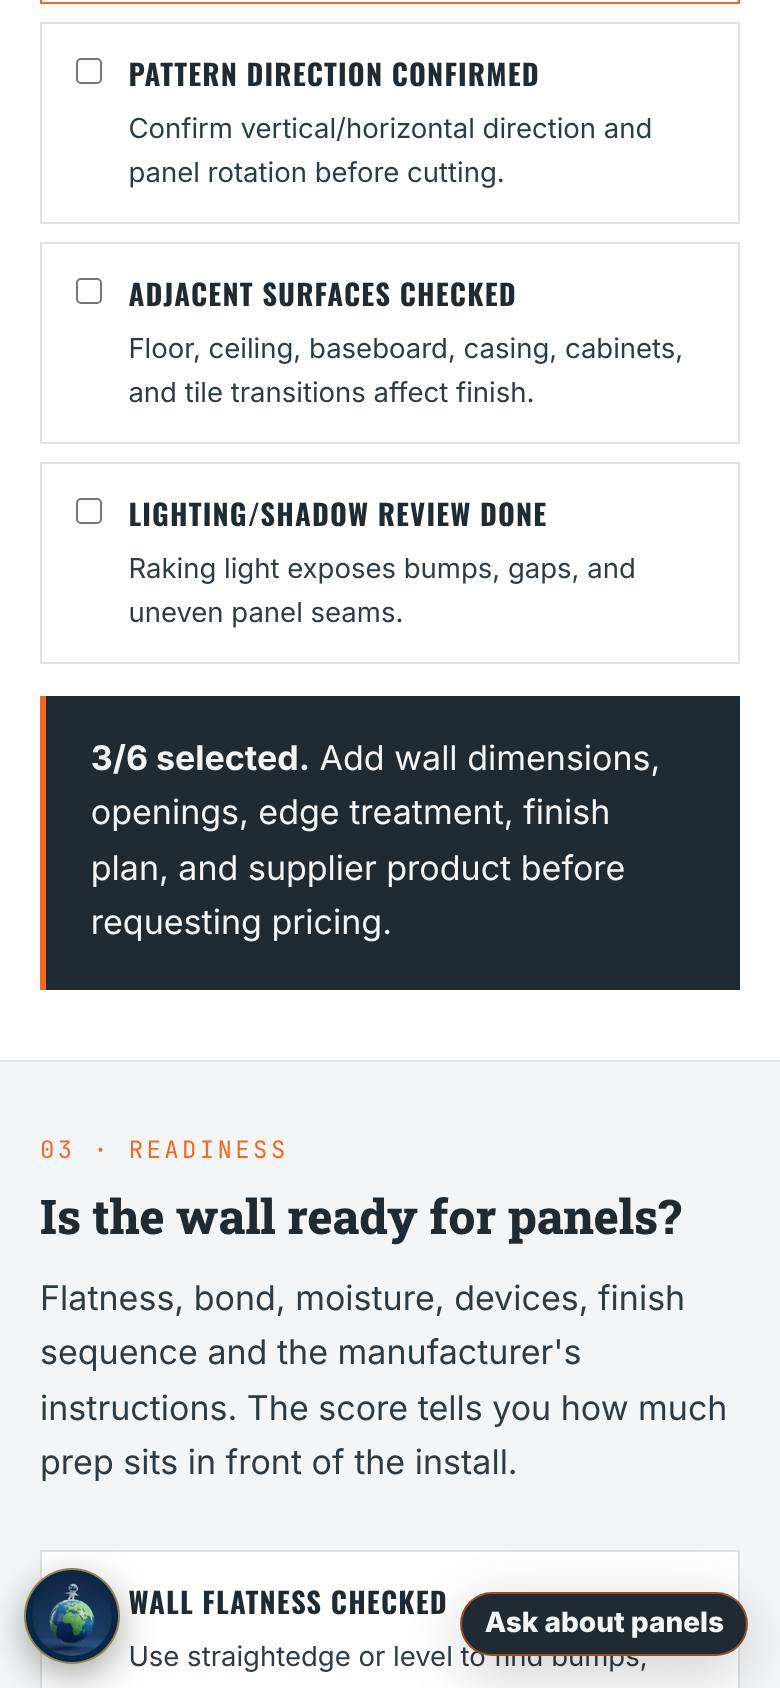
Decide the layout
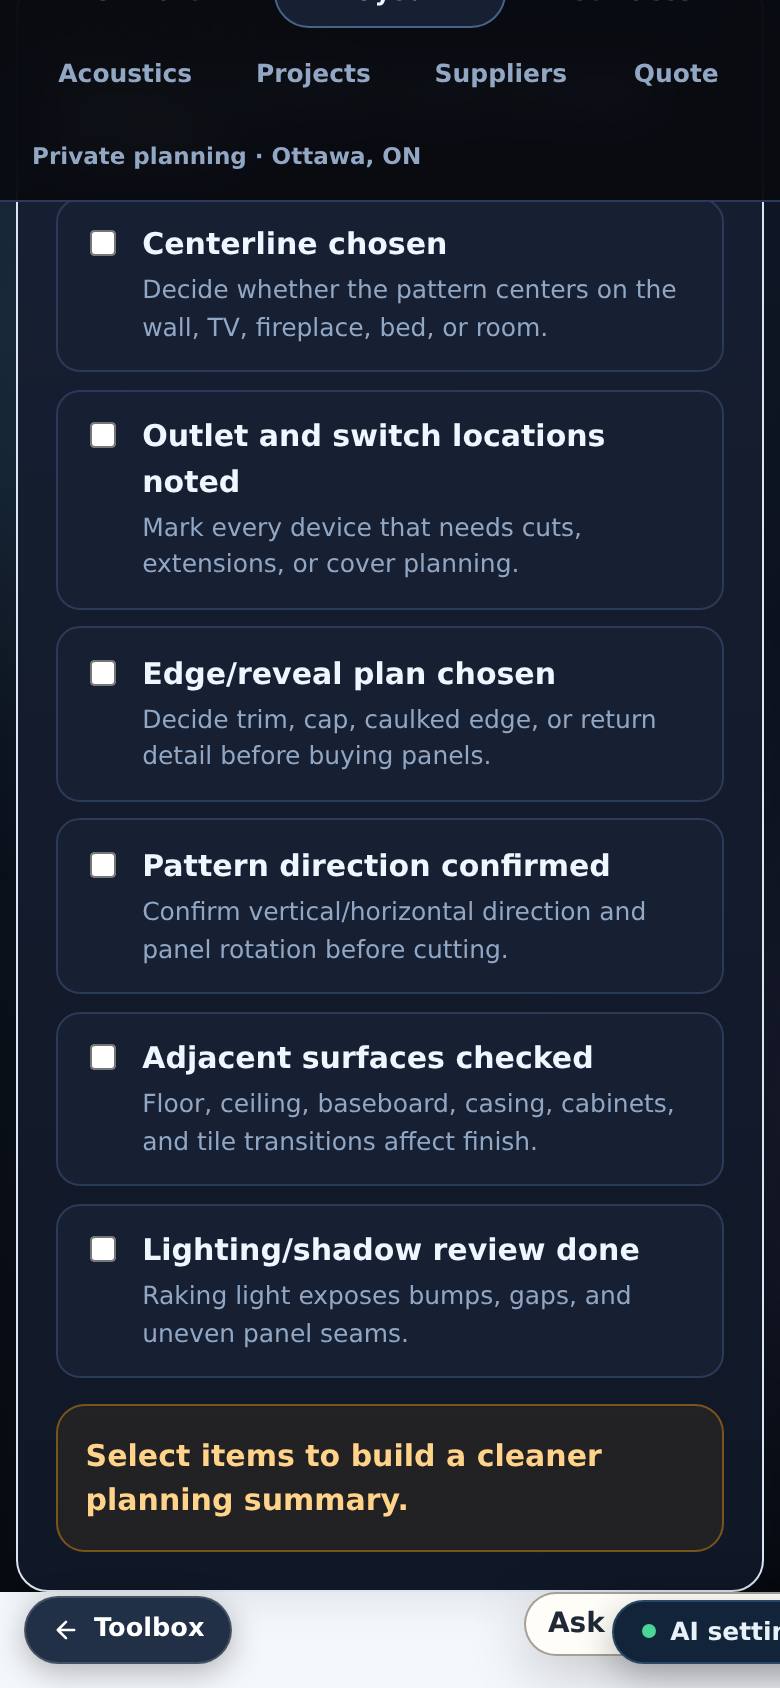
In Layout, tick what is decided: the centreline, the outlets, the edge detail.
What is still open becomes a line in the scope.
- 6
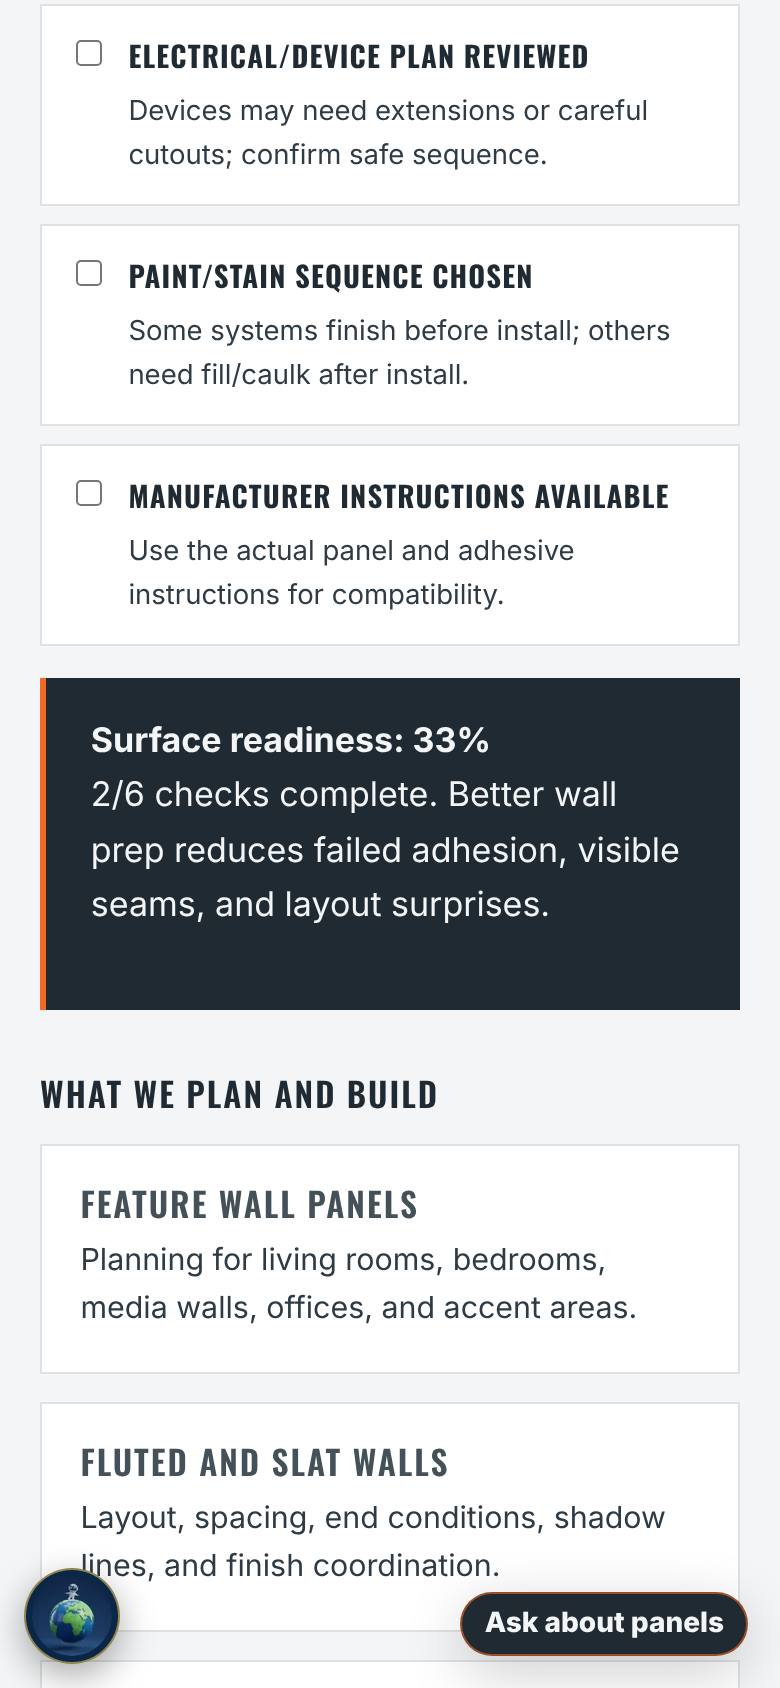
Is the wall ready?
In Readiness, tick the wall is flat and the surface is clean and bonded.
The score shows how much prep sits in front of the install.
- 7
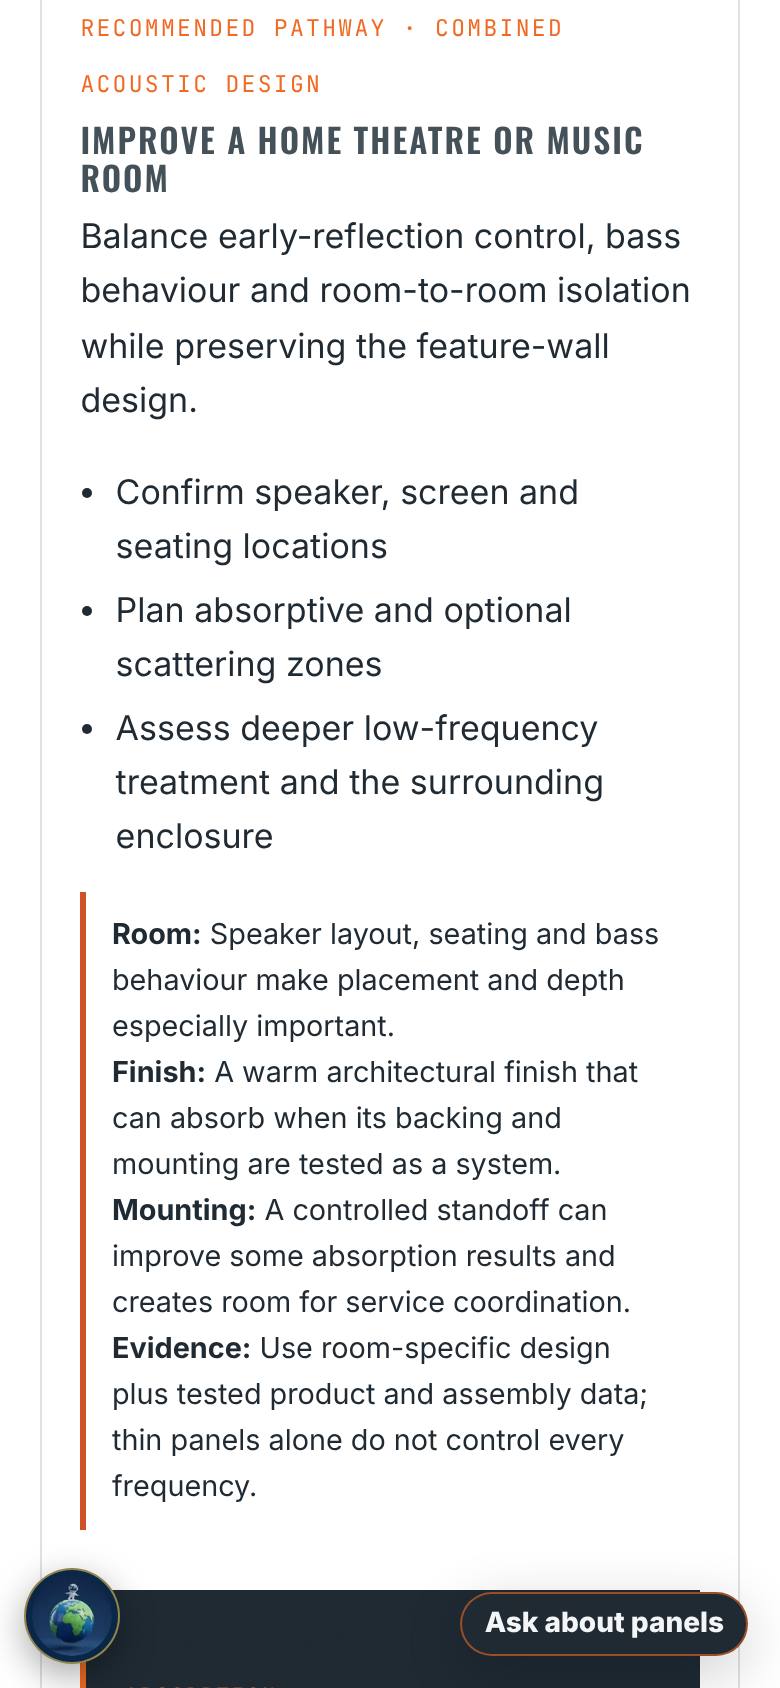
A home theatre
In Acoustics, choose a home theatre, felt-backed wood slats, on battens.
Absorption, isolation and scattering, and what to ask the supplier for.
- 8
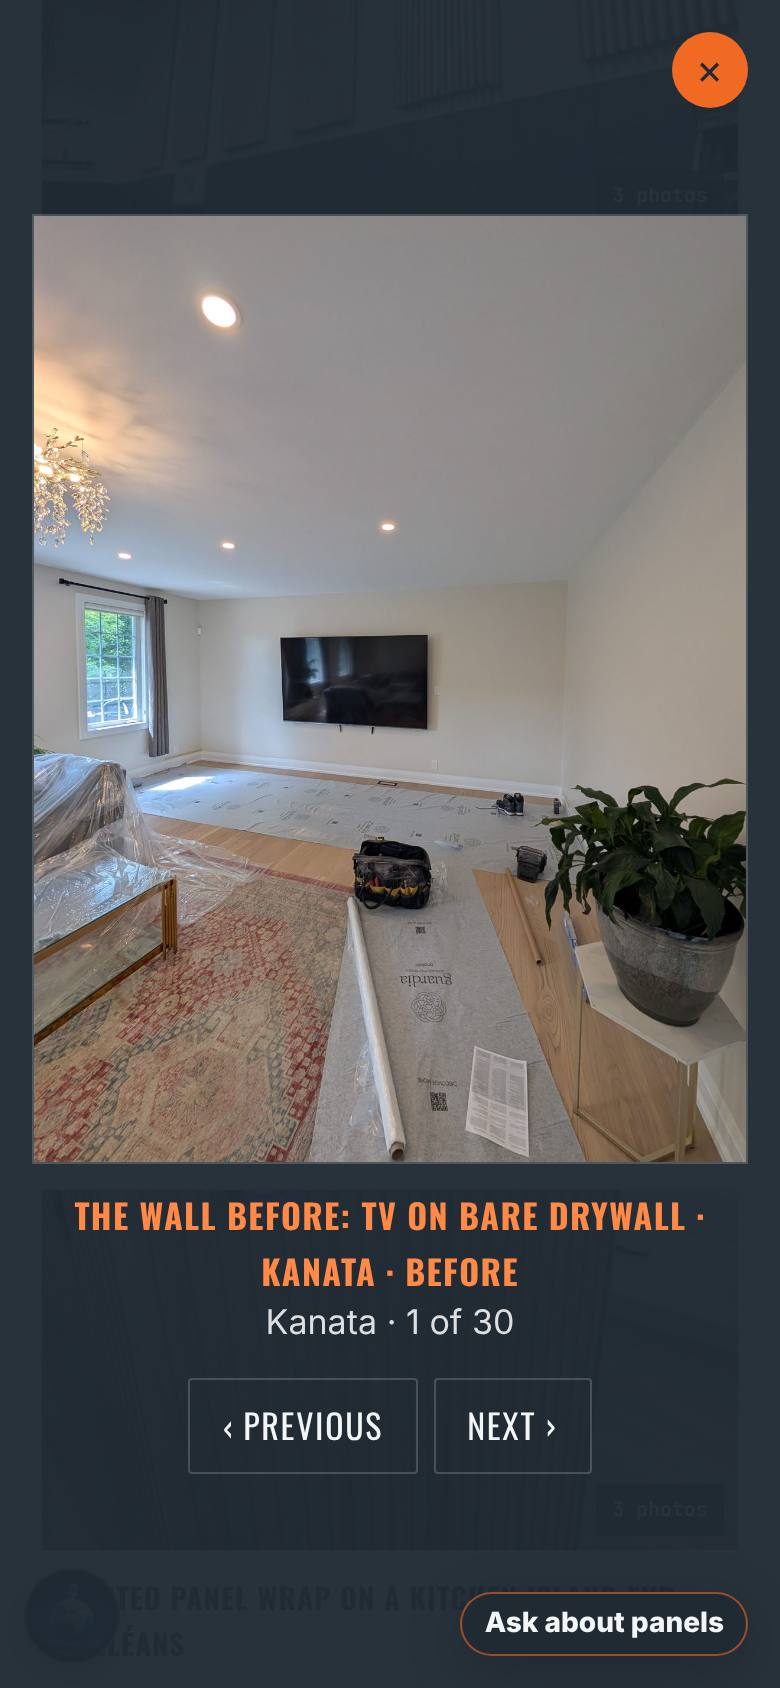
Walls we built
In Projects, tap the Kanata slat wall.
The job, one photo at a time.
- 9
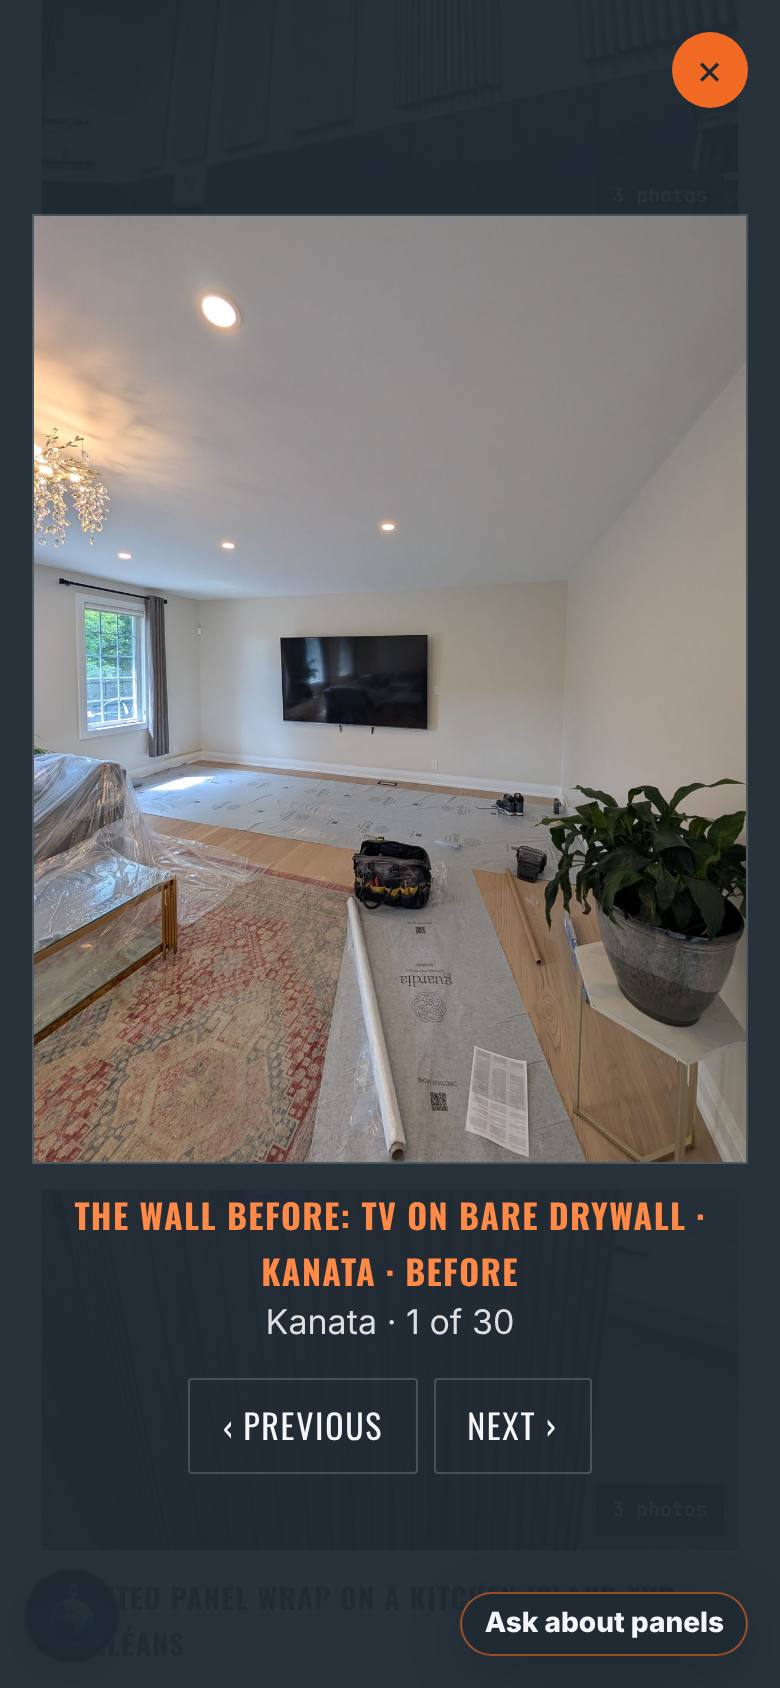
The wall before
The job opens on the wall before.
Plain drywall and a TV on a bracket.
- 10
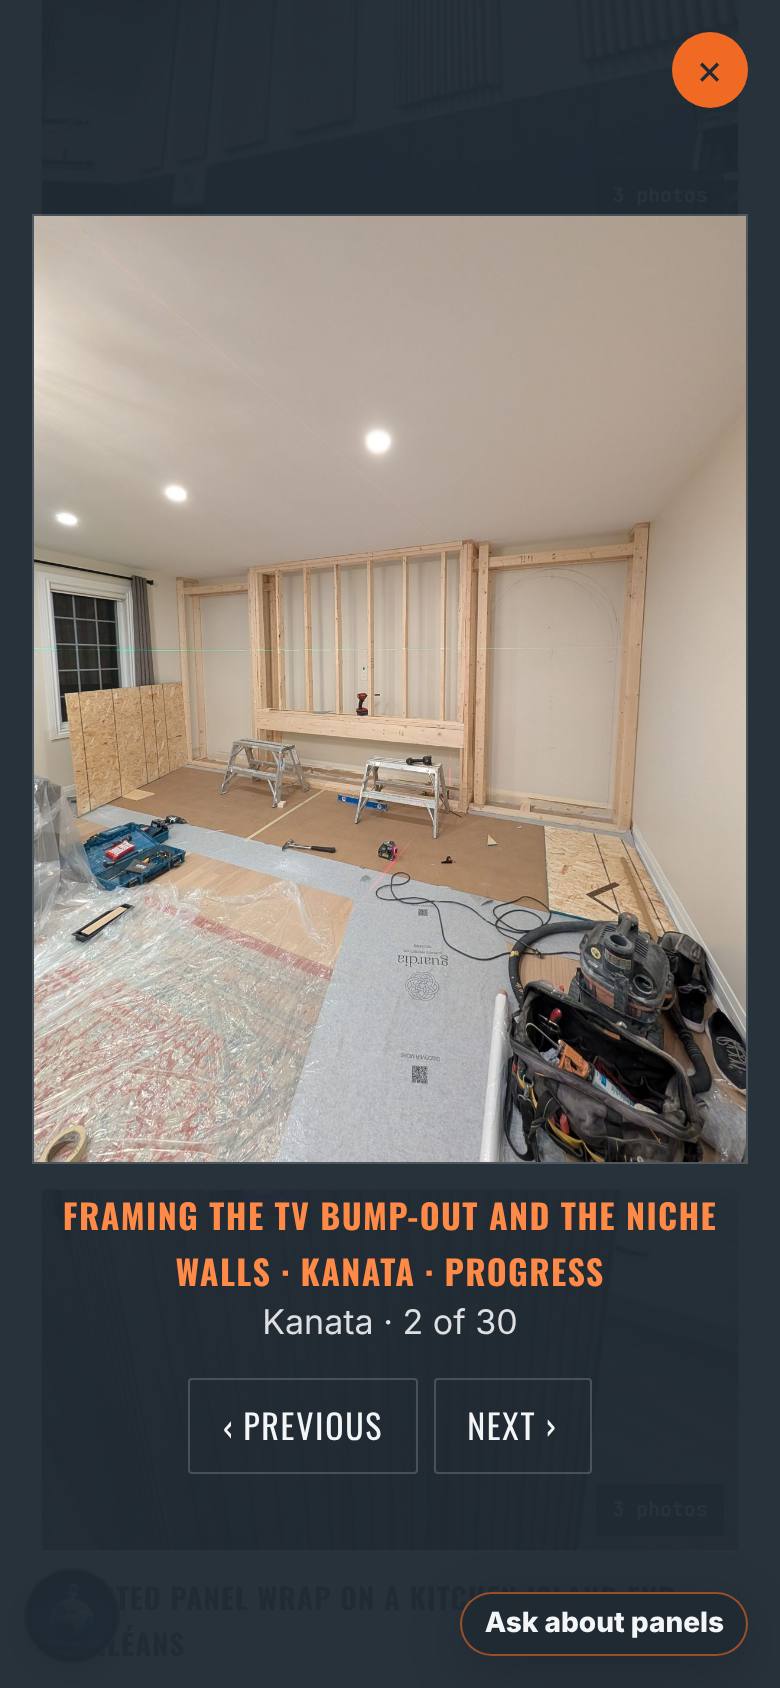
Framing
Tap Next.
The bump-out and niche walls framed.
- 11
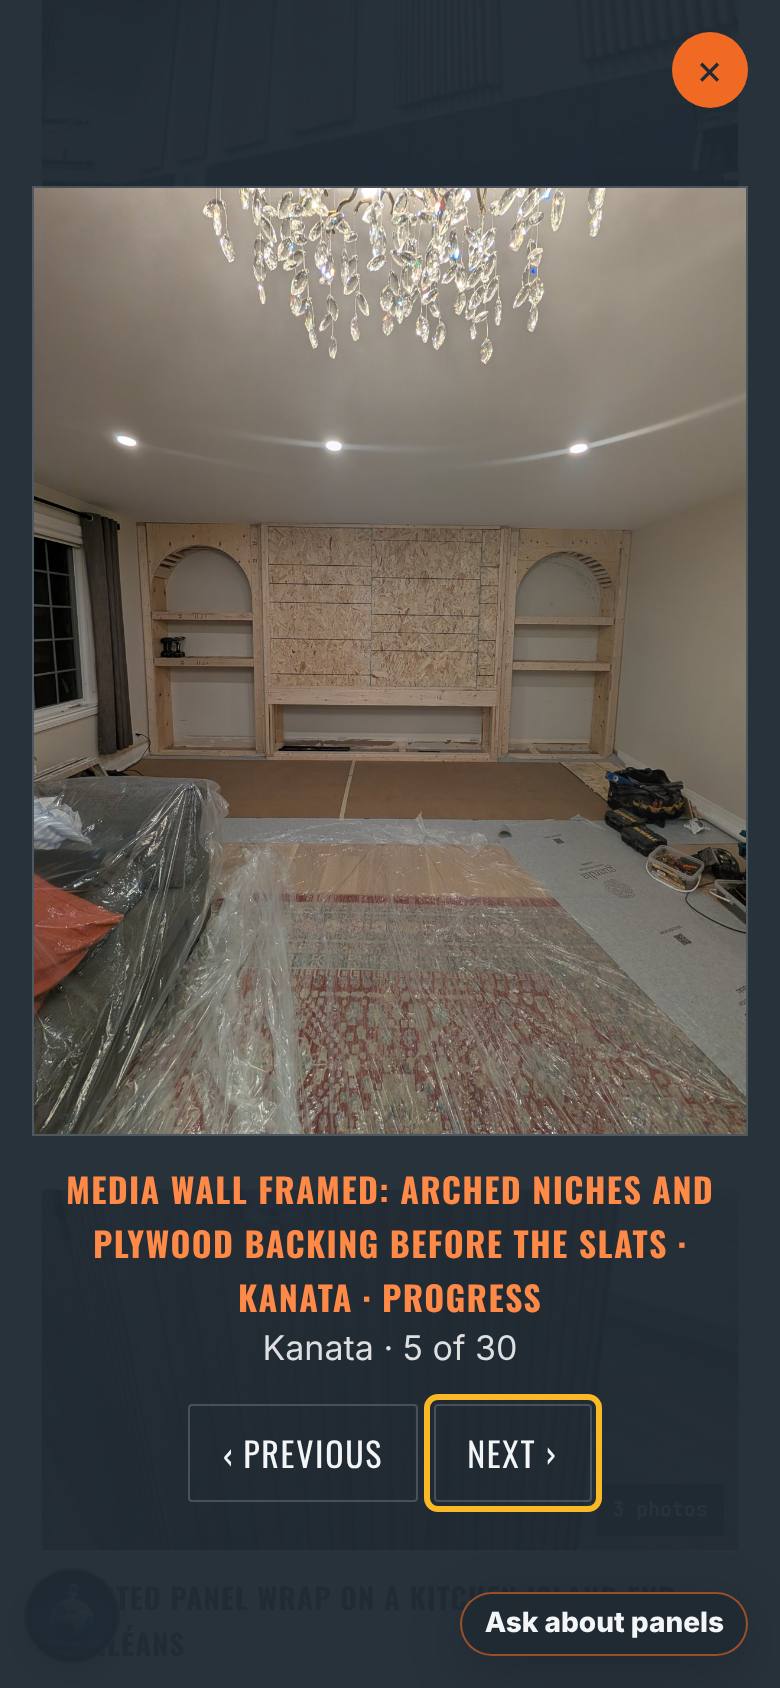
Niches and backing
Tap Next.
Arched niches framed, plywood backing on the TV wall.
- 12
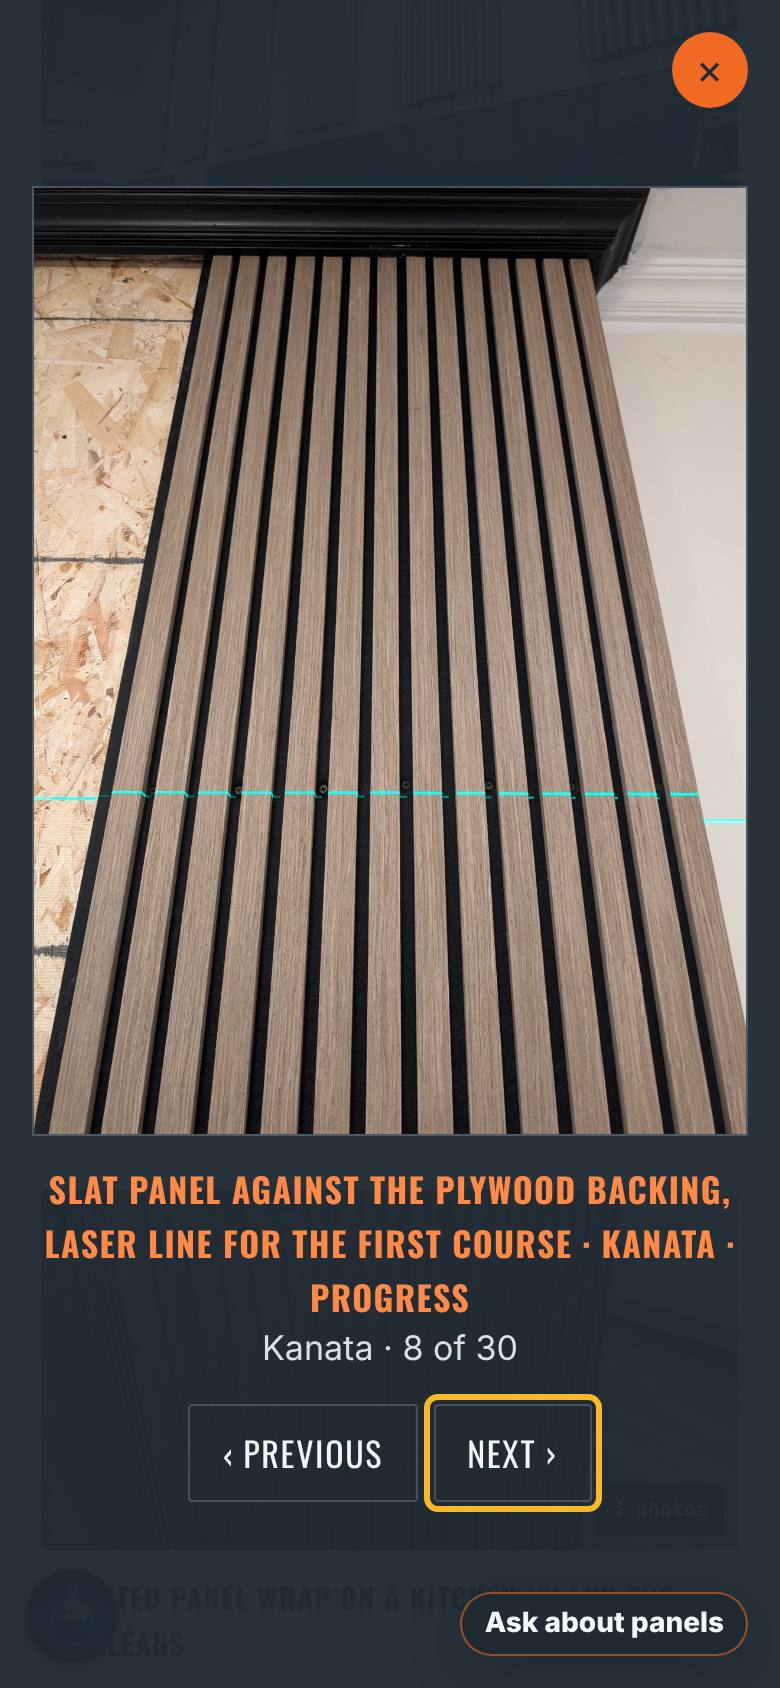
First course to a laser line
Tap Next.
The first course set to a laser line.
- 13
Around the fireplace
Tap Next.
Slats fitted around the fireplace opening.
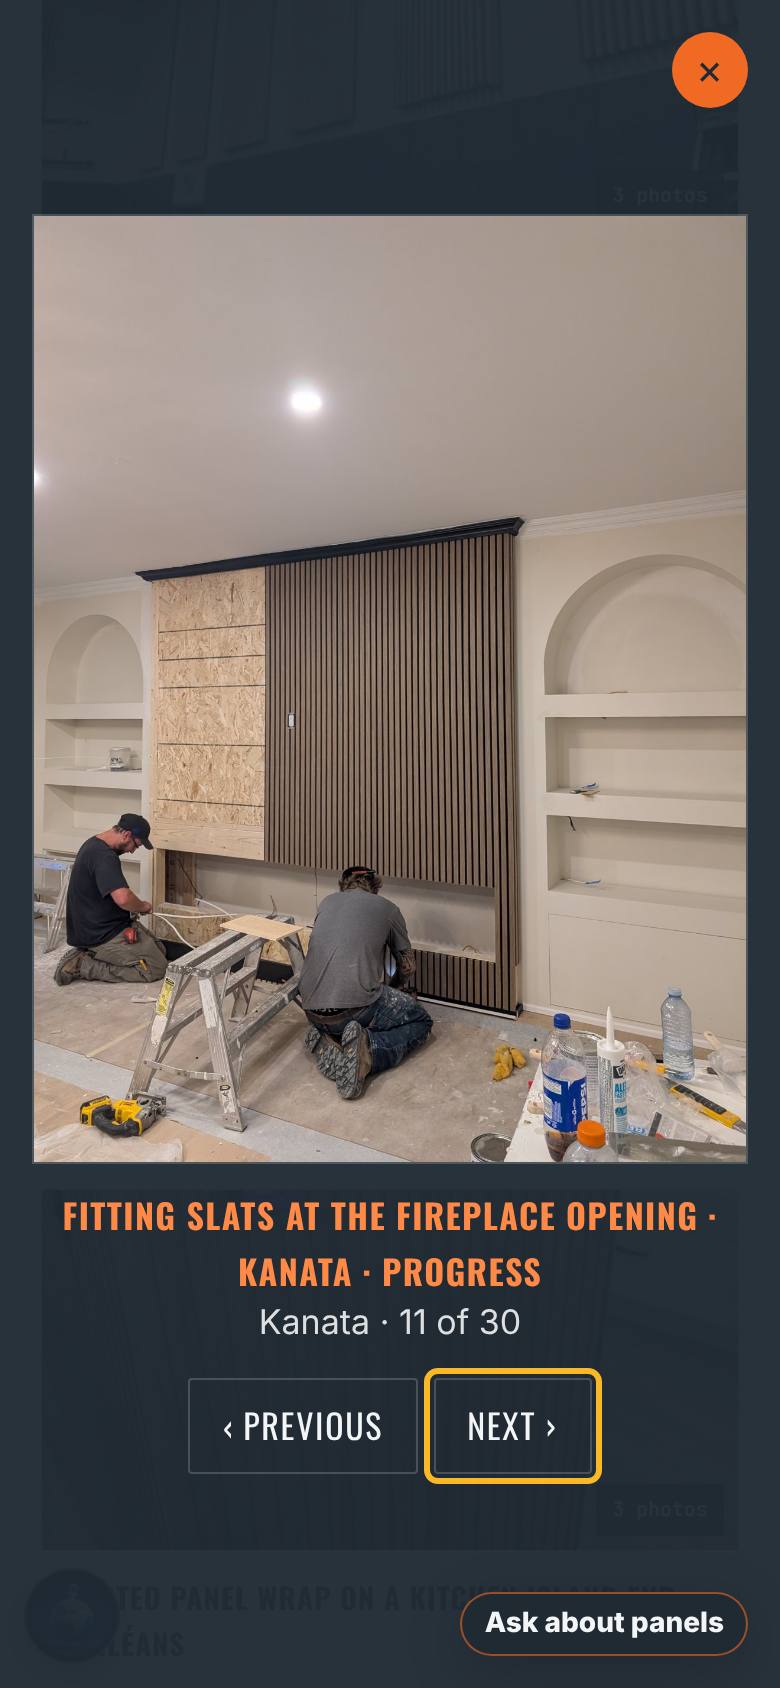
- 14
TV frame trimmed in
Tap Next.
The black TV frame trimmed into the slats.
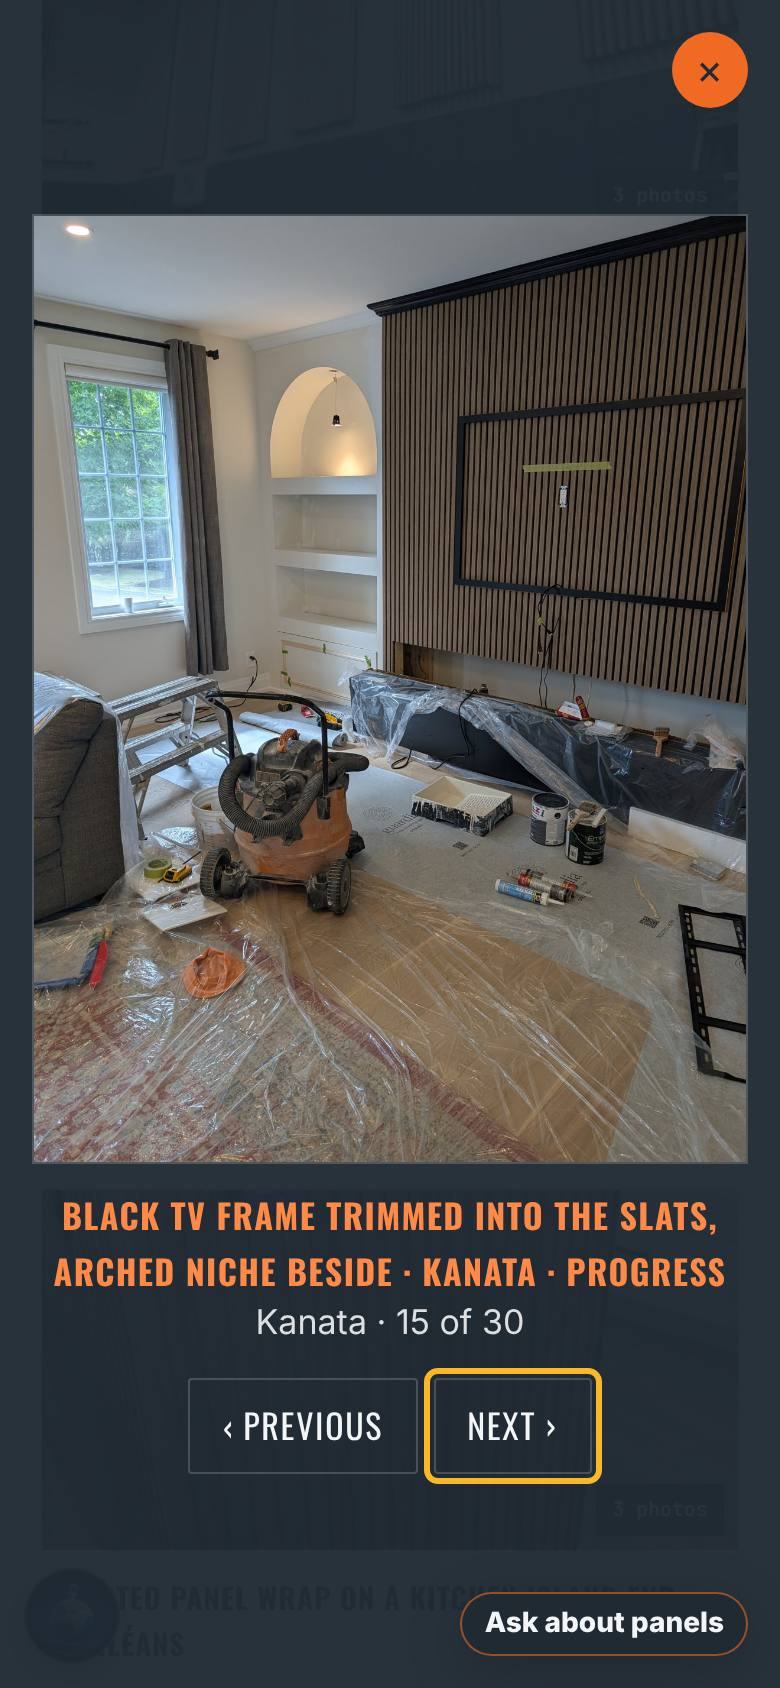
- 15
The finished wall
Tap Next.
The finished wall, lit.
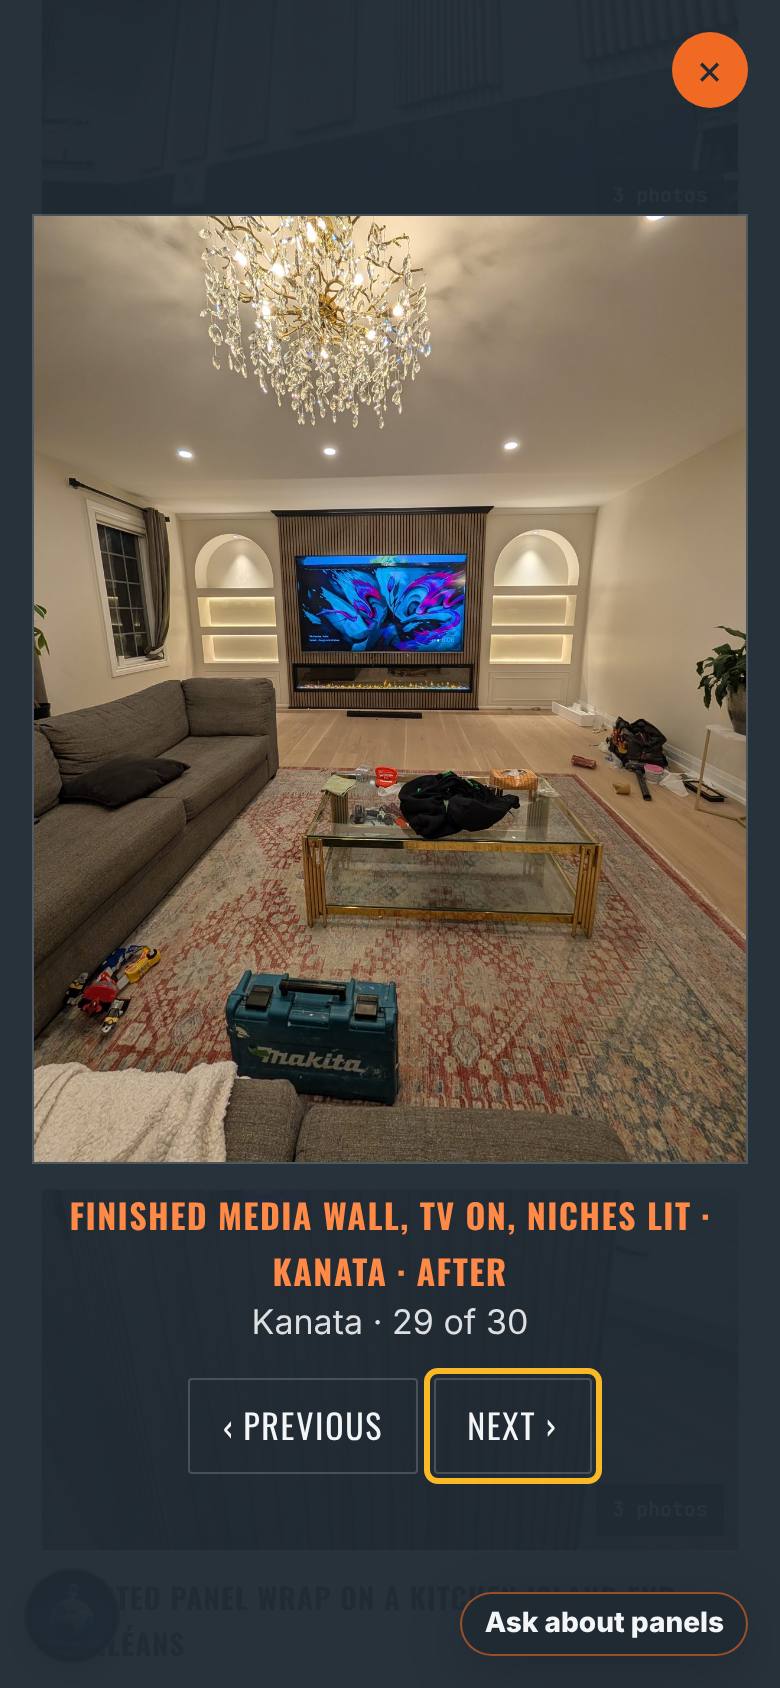
- 16
A summary you can send
In Quote, name the project and the area, and tap Create local summary.
Everything above in one summary you can copy and send.
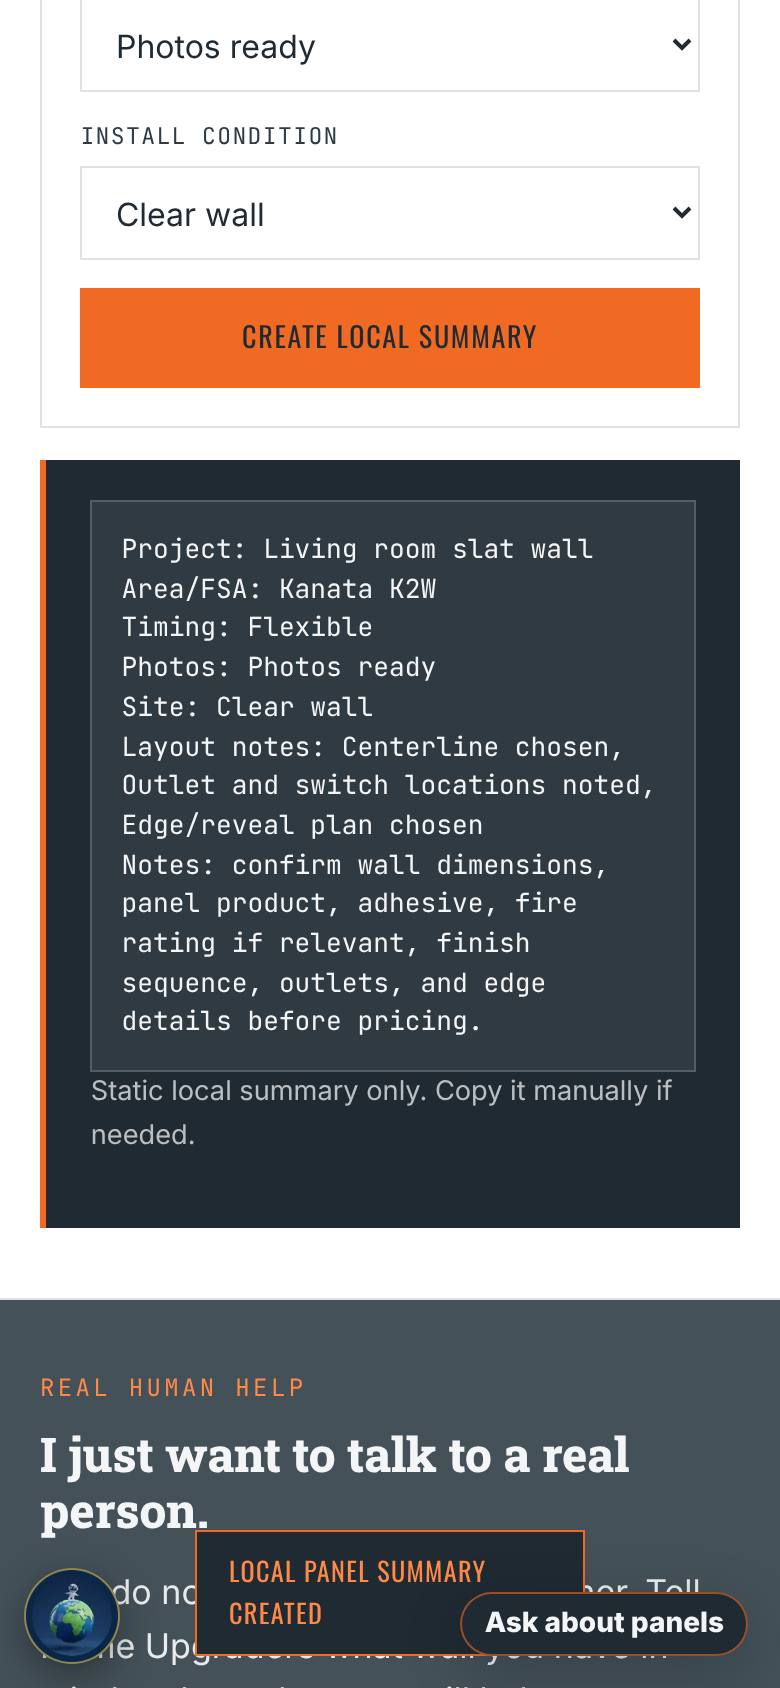
What result should I expect?
A drawing of the wall with every panel, a planning range, a readiness score, an acoustic recommendation and a quote-ready summary.
How do I save, share or get help?
Create local summary writes everything as one text you can copy and send. Ask about panels answers questions from the reviewed guide.
Every screenshot here was taken while doing these exact steps on the app's current build (e1ee194), on a phone-sized screen, signed out, on 2026-10-10. Steps that need an account are marked. Nothing was submitted or bought.
All How-To guides Return to 3D Wall Panels