A 4 by 8 sign in the wind tunnel, at 50 and 90 km/h
The Wind Tunnel in the research console: drop any 3D shape into the chamber, set the wind, and watch the flow around it with a live estimate of drag and pressure. A browser estimate from the module's own drag model, not CFD.
Guide revision: 2026-10-13 · steps checked 2026-10-13 on build c978505
7-part walkthrough with voiceover, recorded from the same checked parts.
Voiceover: Kokoro text-to-speech (Apache 2.0).
How do I start?
Open the research console, name a project, and tap Wind Tunnel.
What do I do next?
- 1
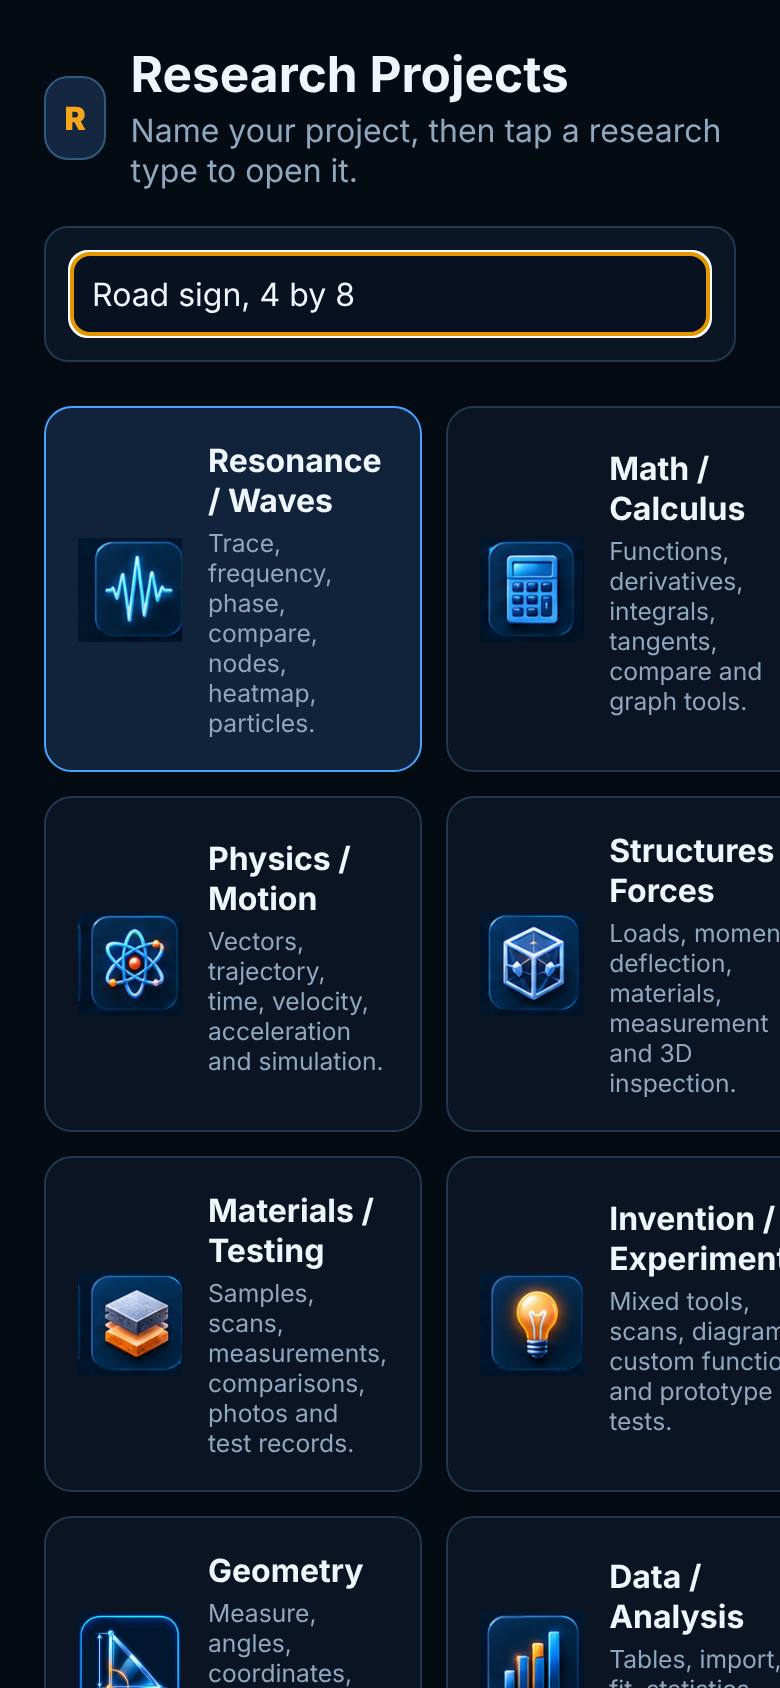
Name a project, tap Wind Tunnel
Name the project, then tap Wind Tunnel.
The research types, with Wind Tunnel.
- 2
The chamber
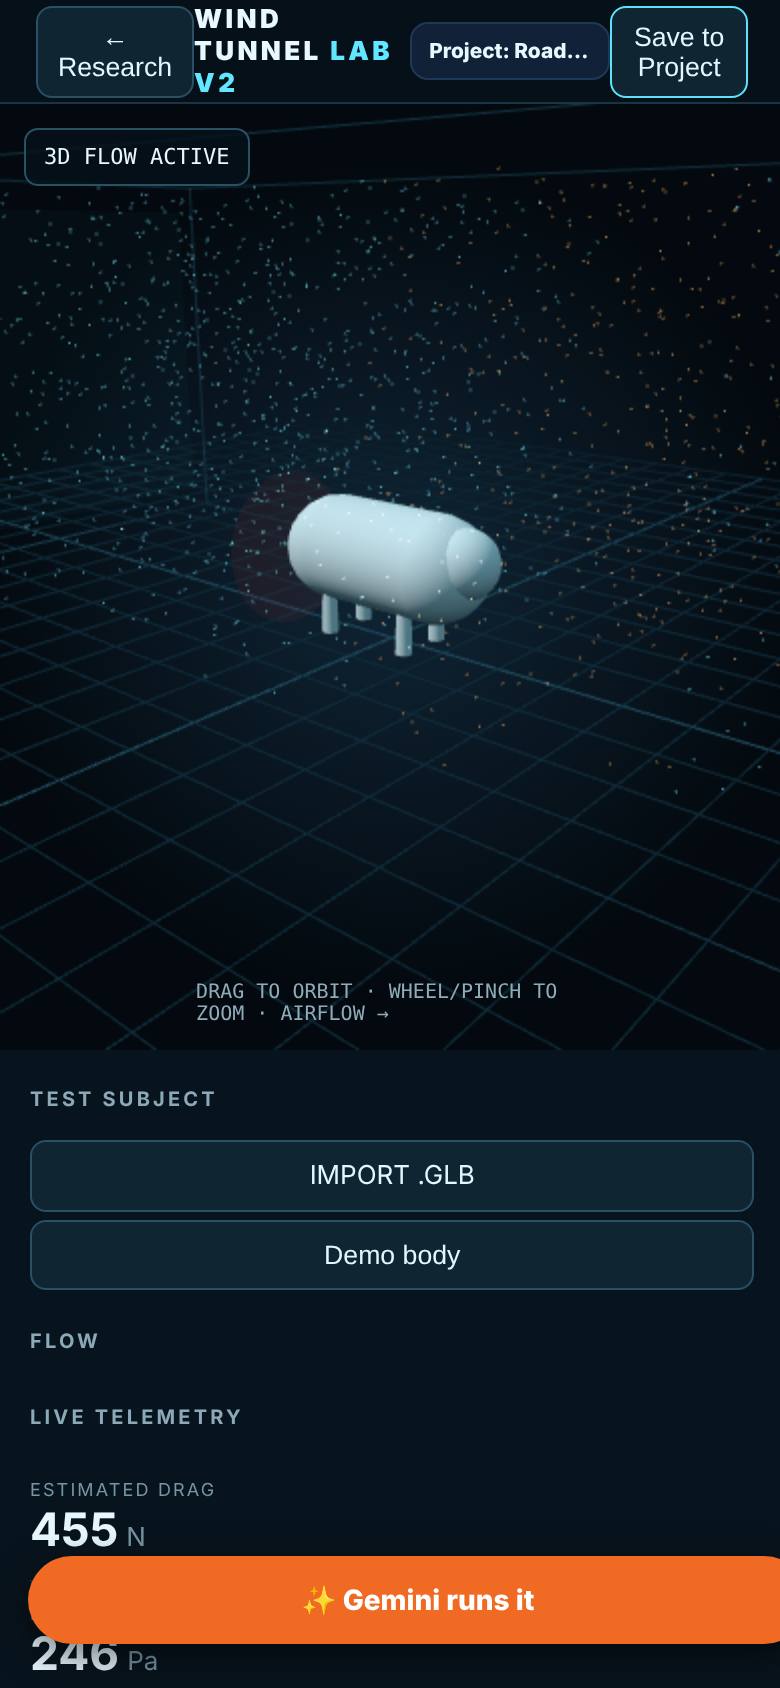
The lab opens with the demo body.
Chamber, flow settings, layers and telemetry.
- 3
Import the sign
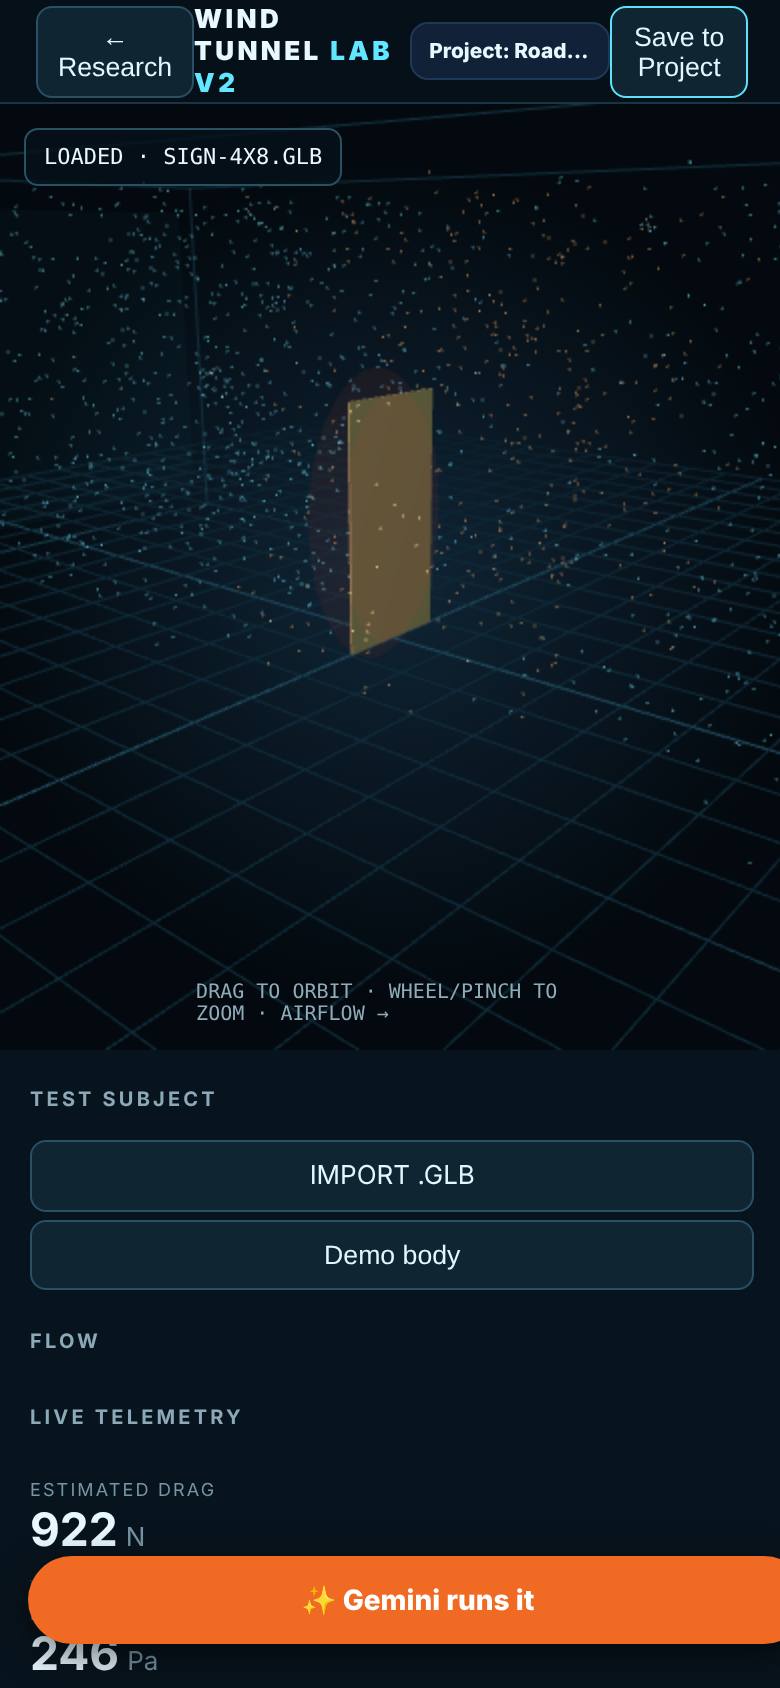
Tap Import GLB and choose the sign.
The sign stands in the chamber.
- 4
50 km/h
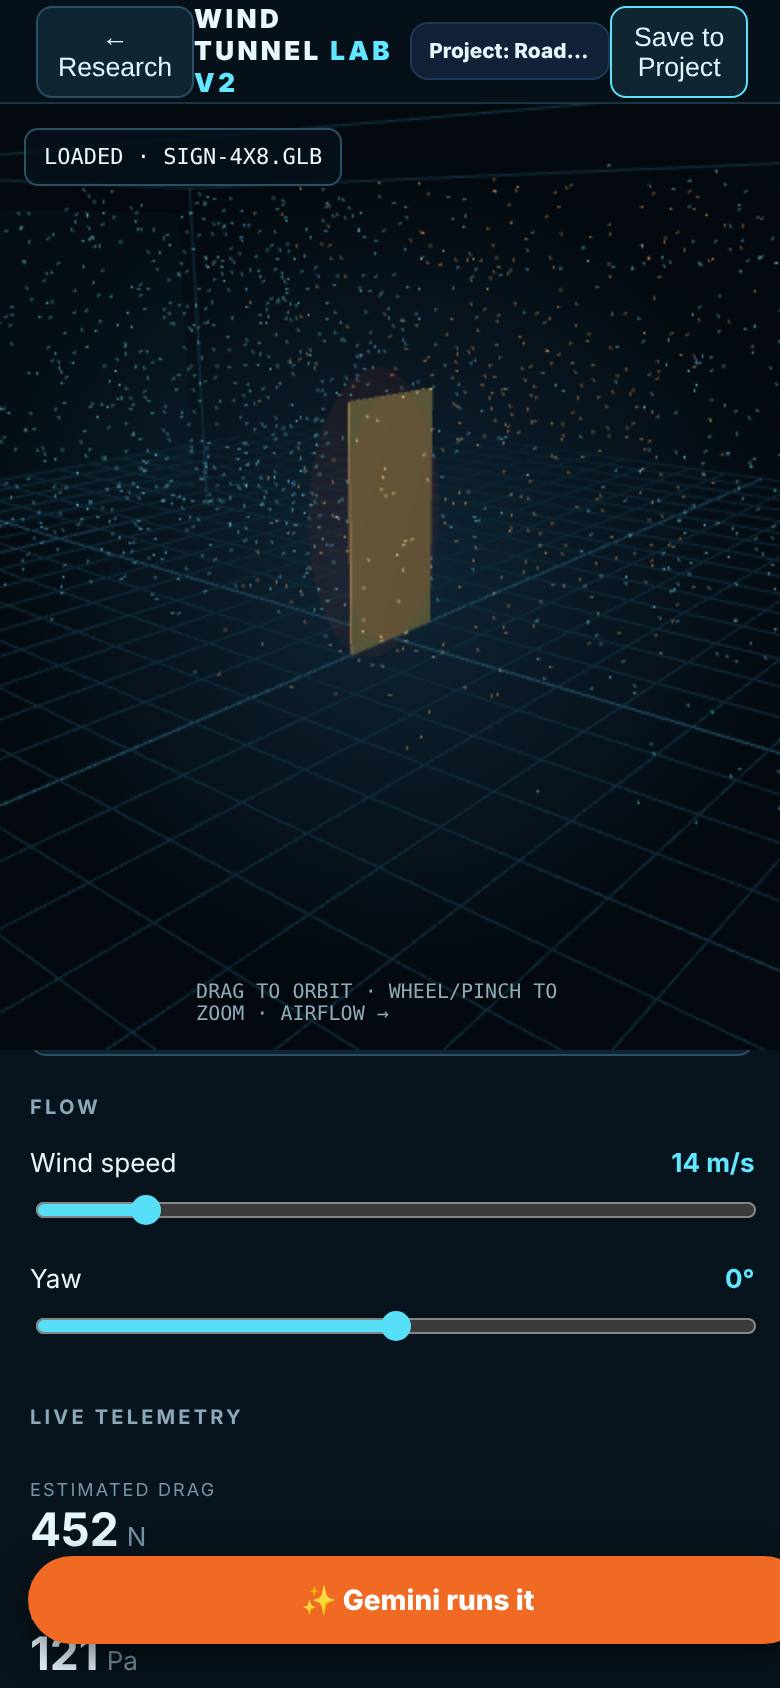
Set the wind to 14 m/s (50 km/h).
Telemetry at 50 km/h.
- 5
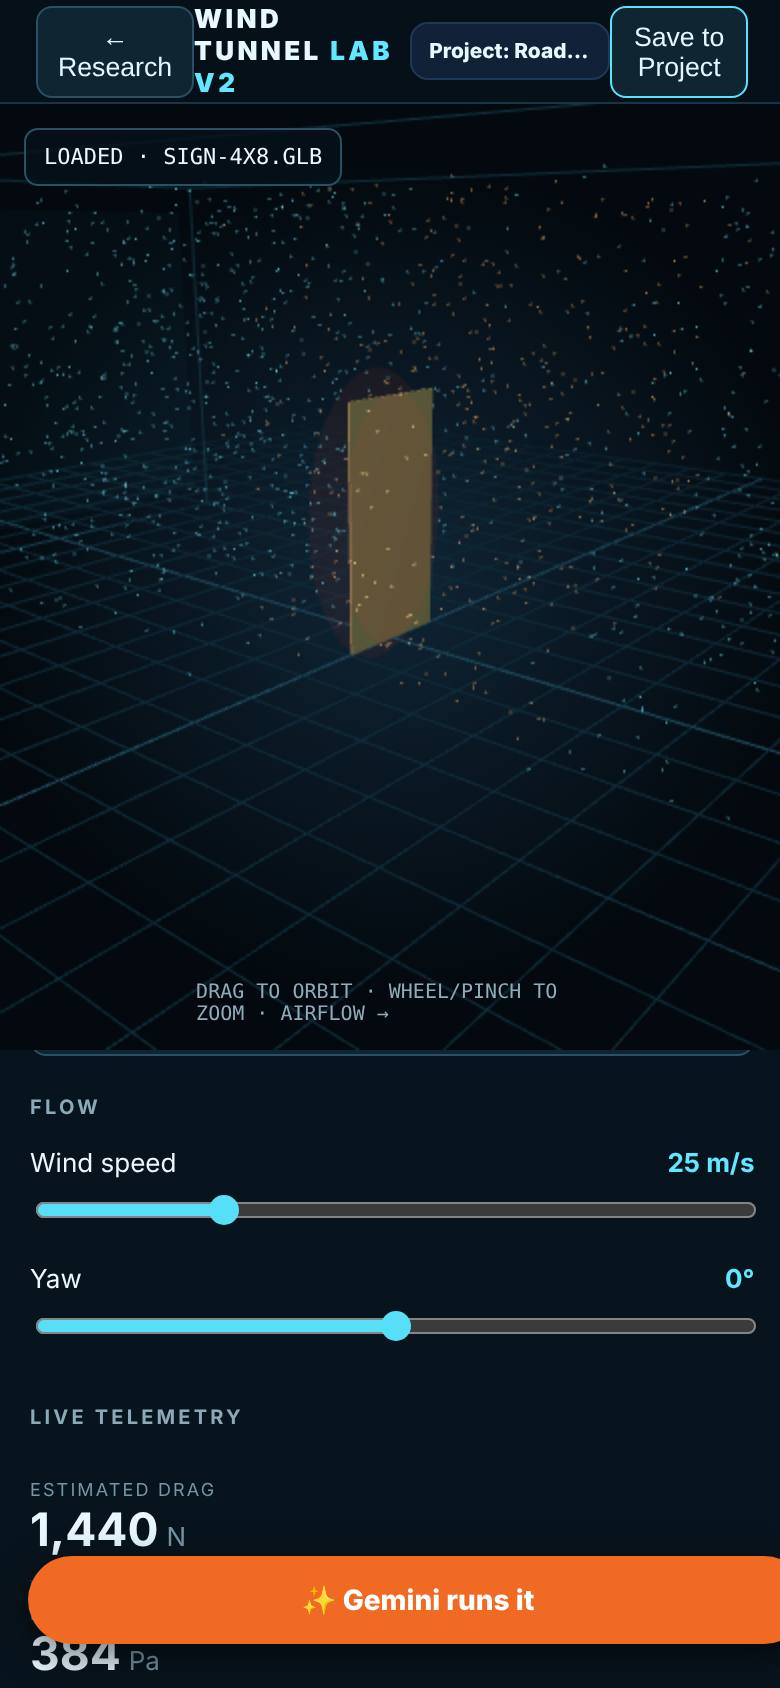
90 km/h
Set the wind to 25 m/s (90 km/h).
Telemetry at 90 km/h.
- 6
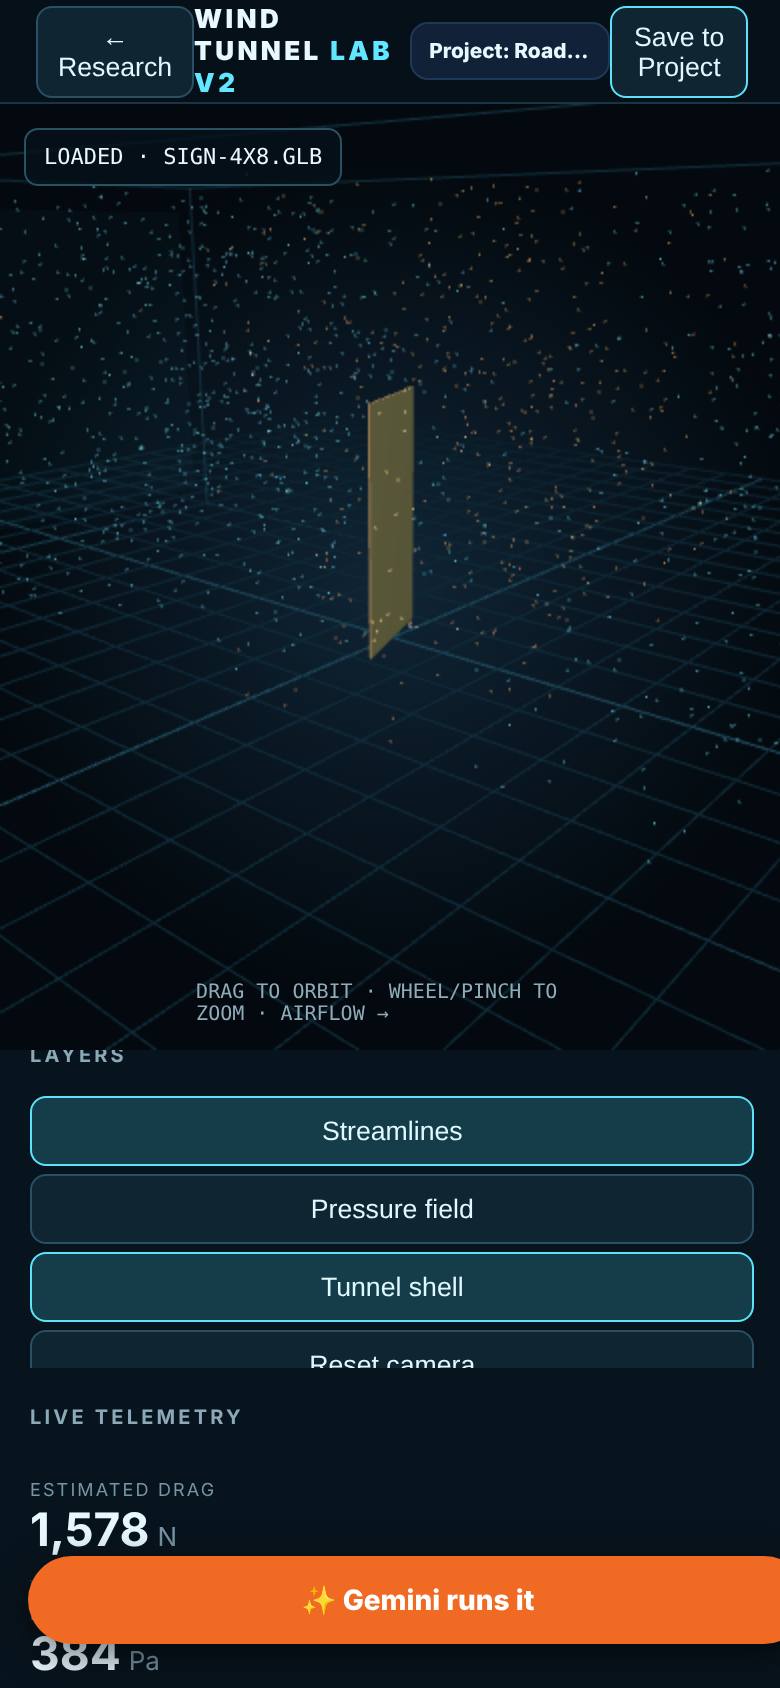
Pressure field and yaw
Turn on Pressure field; set some yaw.
The pressure layer on the face.
- 7
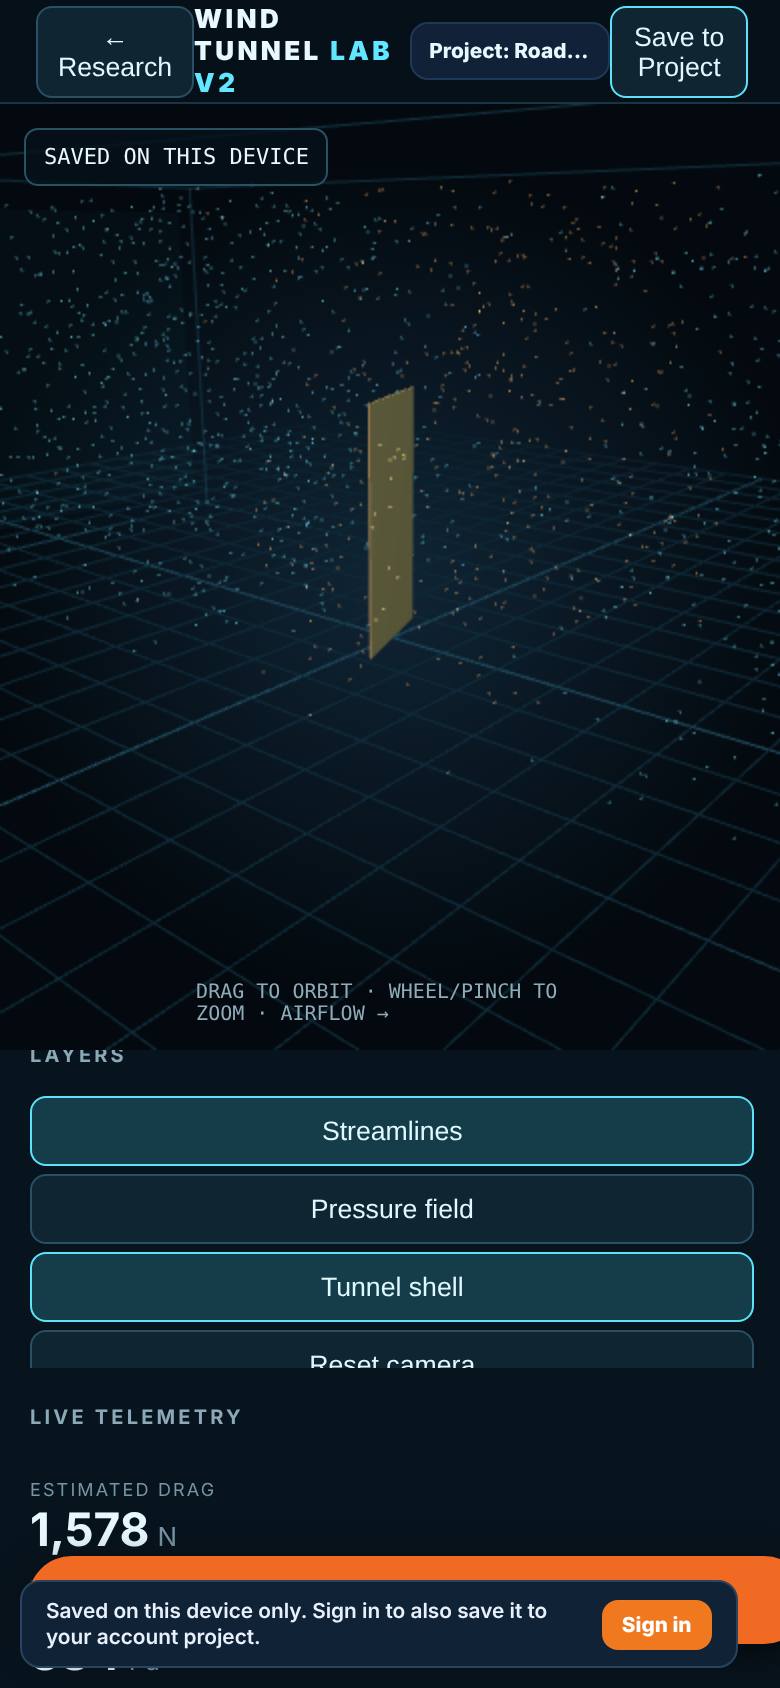
Save to Project
Tap Save to Project, then Back.
Saved to the project.
What result should I expect?
A saved test with the wind, yaw, turbulence, density and the estimate numbers, filed to the project.
How do I save, share or get help?
Save to Project keeps the settings and numbers with the project on this device and, signed in, with your account.
If something goes wrong
- The numbers look small or large. The chamber scales every shape to fit, so the area and drag are the chamber's estimate for comparing shapes and speeds, not a certified figure.
Every screenshot here was taken while doing these exact steps on the current build (c978505), on a phone-sized screen, on 2026-10-13.
All AiArena How-To guides Open Research console: Wind Tunnel